
REVIEW · NAPIER & HAWKES BAY TOURS
Napier: Highlights & Tour Exploring the Best of this Region
Art Deco plus earthquake stories, in a quick loop. I love the way this tour turns Napier’s famous buildings into an easy-to-follow story, especially the National Tobacco Building and the Star Compass stops. I also like the small-group feel, no more than 11 people, which keeps the questions coming and the photos actually usable. One possible drawback, it’s paced for highlights, so if you want long lingering time at every location, you might feel the schedule is tight.
You start with pickup at the i-site in Napier, then you move through Napier, Ahuriri, and into Hastings and Havelock North. A guide named Tere Morales has earned rave-style feedback for being energetic and extremely prepared, and the tour runs in English and Spanish, so it’s a practical option for mixed groups.
In This Review
- Key things that make this tour worth your time
- Art Deco Napier, the 1931 rebirth story, and why the stops connect
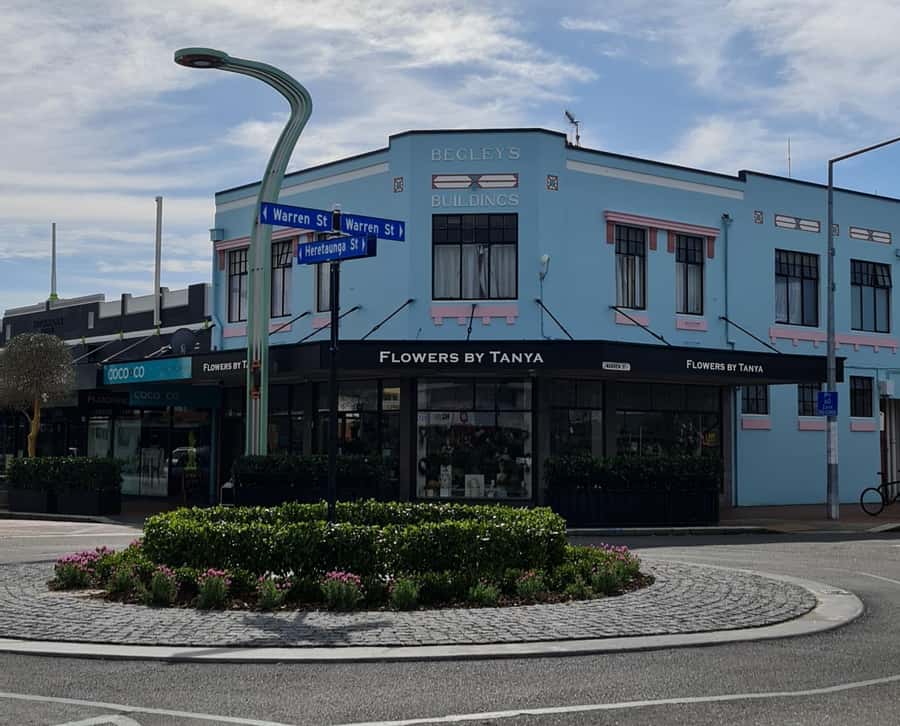
- National Tobacco Building and the Star Compass: two iconic photo stops with a point
- Ahuriri harbour and the fishing-village feel you can still see
- Hawke’s Bay drive: orchards, vineyards, and the “fruit bowl” setting
- Celestial Compass and Māori art: practical meaning, not just decoration
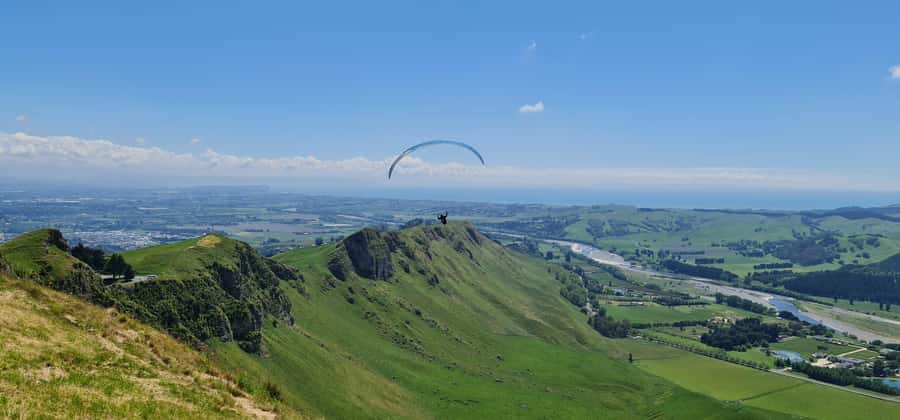
- Havelock North plus Te Mata Peak: 380 degrees when the weather cooperates
- Hastings in a short window: a quick orientation that pays off
- Price and timing: does $89 for 90 minutes feel fair?
- Who should book this tour, and who might skip it
- Practical tips to get the most out of Napier, Ahuriri, and Te Mata Peak
- Should you book Napier Highlights + Tour?
- FAQ
- How long is the Napier Highlights + Tour?
- How much does the tour cost?
- Where do I meet the guide for pickup?
- What languages are offered on the tour?
- What’s included in the price?
- Is the tour suitable for wheelchair users or mobility impairments?
Key things that make this tour worth your time
- Small group (max 11) keeps the tour personal and helps you get good angles for photos.
- Napier Art Deco focus with clear explanations of how the city rebuilt after 1931.
- Ahuriri harbour + National Tobacco Building for a strong mix of industry and character.
- Celestial Compass adds Māori art and connects it to what you see in the night sky.
- Te Mata Peak OR Arataki Honey gives you a real choice, depending on weather and your taste.
- Hawke’s Bay drive through orchards and vineyards without you having to plan the route yourself.
Art Deco Napier, the 1931 rebirth story, and why the stops connect
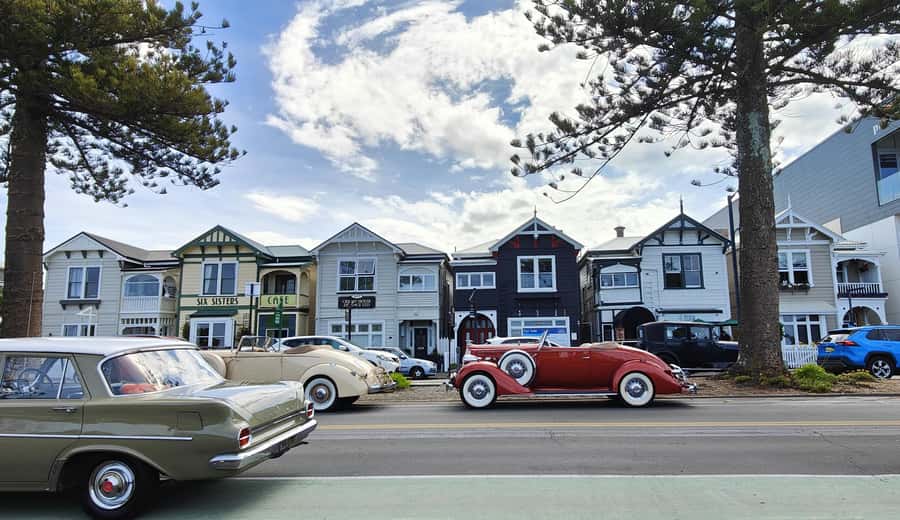
Napier’s Art Deco fame can sound like a brochure line. Here, it lands better, because the tour doesn’t just point at buildings. It explains why the city looks the way it does, and why the details matter.
The big anchor is Napier’s dramatic change after the 1931 earthquake. Instead of treating it as a distant historical fact, the guide ties the rebuilding to the architecture you can still see today. That makes your walk through the Art Deco areas feel purposeful. You stop at key sights, then you get the context that turns them from pretty facades into real landmarks.
And yes, you’ll spend time viewing the style up close, not just from a distance. You’ll also have time for photo stops, but in a way that doesn’t feel like a constant sprint. The small-group limit matters here. With fewer people, you can ask quick questions and adjust where you stand without holding everyone up.
If you’re a first-time visitor, you’ll leave with a solid mental map of what to look for later on your own. If you’re returning, you still get value, because you’ll likely notice details you would normally rush past, like how individual buildings reflect the era’s design choices.
A few more Napier trips worth comparing
- Napier: Cape Kidnappers Gannet, Nature & Sightseeing Tour
★ 4.8 · 317 reviews - Top-Rated Hawke’s Bay Wine Tour – Small Group
★ 5.0 · 256 reviews - Shore Excursion: Scenic Rafting from Napier
★ 5.0 · 179 reviews
National Tobacco Building and the Star Compass: two iconic photo stops with a point
Two of the best-known Napier landmarks on this route do more than look great in pictures.
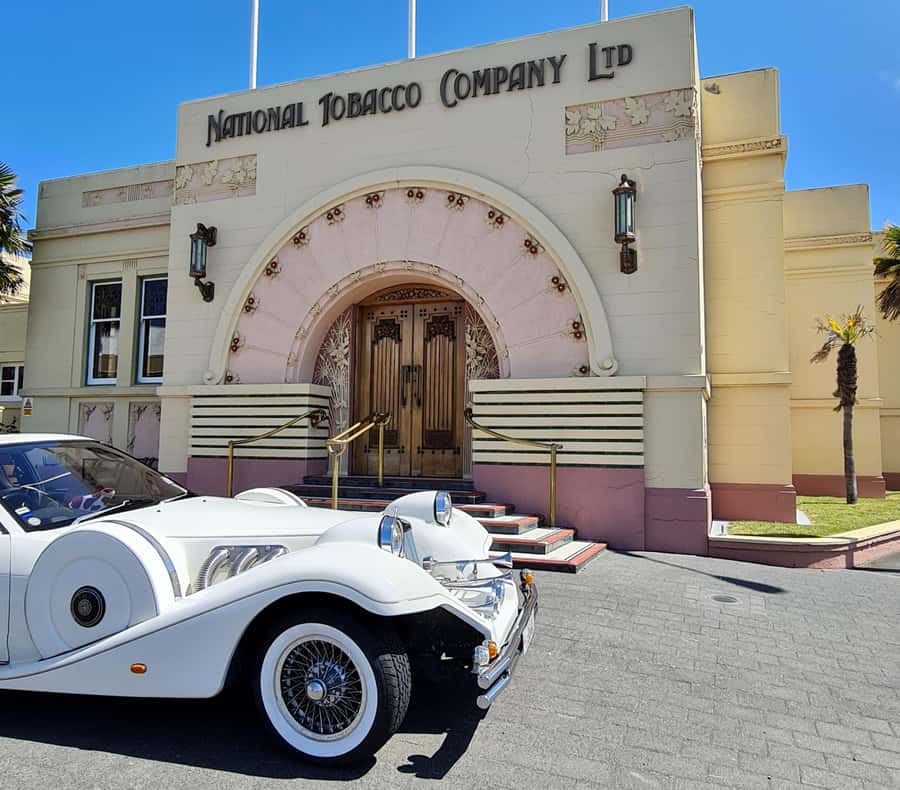
The National Tobacco Building is one of those structures that feels like it should have a movie scene attached to it. But the tour treats it as a clue to Napier’s industrial life, and how different periods of prosperity left their mark on the city’s built form. You’re not just admiring, you’re learning what the building represents in the wider Napier story.
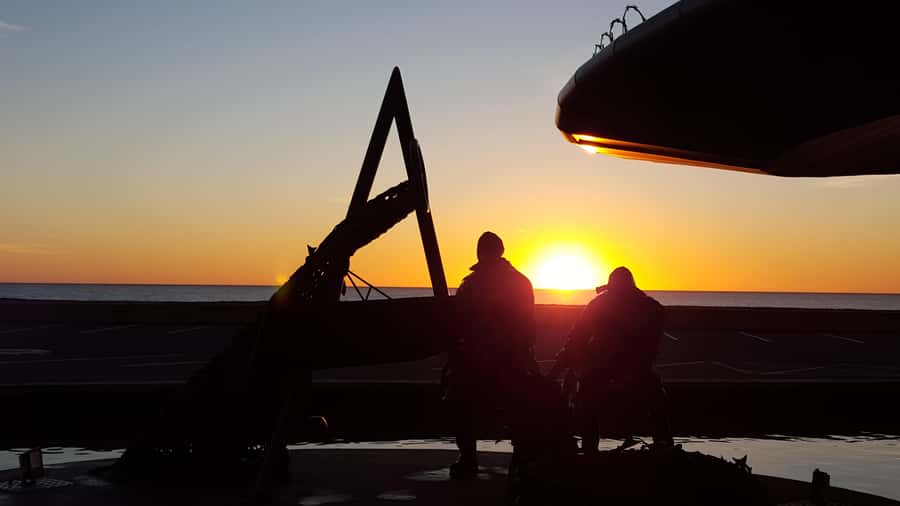
Then there’s the Star Compass. This one gives you a different angle on place. Instead of staying purely in architecture, the stop links the city to navigation, direction, and the idea of how people orient themselves through knowledge. It also sets up a later stop with celestial themes, which makes the tour feel like it’s building toward something.
If you’re the kind of traveler who likes a tour that has variety rather than repeating the same “look at that building” pattern, these two stops are a smart combo.
Ahuriri harbour and the fishing-village feel you can still see

After Napier’s centre, the tour shifts to Ahuriri, where the vibe gets more coastal and everyday. You get guided time here, and it’s especially useful if you’ve only seen Napier from the main drag.
Ahuriri is a good contrast stop. You move from Art Deco style to maritime energy. The harbour area gives you a sense of what the region was built around, not just what it decided to look like later. If you like places where the past still shows in current life, Ahuriri is a nice fit.
You’ll also enjoy how the tour uses short blocks of time here. It’s long enough to get oriented and see what’s around you, without dragging on. In a 90-minute highlight format, that pacing keeps the experience from turning into one long bus window moment.
Hawke’s Bay drive: orchards, vineyards, and the “fruit bowl” setting
One of the easiest ways to experience Hawke’s Bay is to let someone else drive while you watch the region slide by.
Between Napier and Hastings, you travel through the orchards and vineyards that give Hawke’s Bay its reputation. The tour’s value here is interpretation. You’re not stuck staring at trees and grape vines hoping it all means something. You get a guided lens so the scenery feels connected to what you eat and drink locally.
Even if you are not a wine person, this stretch works. It’s a visual reminder that Hawke’s Bay is more than cities and viewpoints. It’s a working landscape that shapes daily life, jobs, and the region’s identity.
Same island, a completely different day:
- Guided 10am Morning Art Deco Walk From Napier Art Deco Trust
★ 4.5 · 167 reviews - Napier: Afternoon Winery Tour Tasting at 3 Great Wineries
★ 4.7 · 147 reviews - Napier: Afternoon Wine Tasting + visit Silky Oaks Chocolates
★ 5.0 · 135 reviews - Premium 4 -Best Wineries Napier Hawke’s Bay Tour, 5.5h – 6Hours
★ 5.0 · 134 reviews
Celestial Compass and Māori art: practical meaning, not just decoration
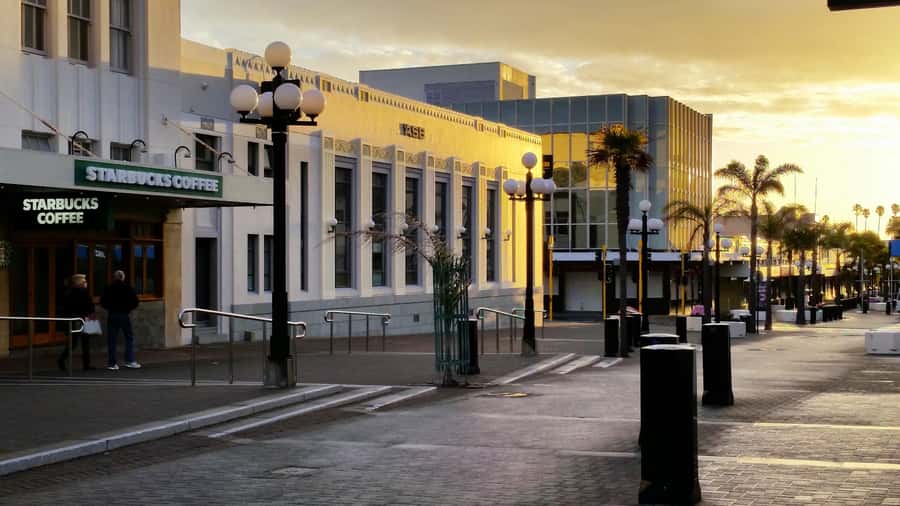
The Celestial Compass stop stands out because it blends design, Māori art, and a real-world idea you can carry with you later.
You learn how major constellations appear in the New Zealand sky, and you also see Māori artistic expression tied to that knowledge. This isn’t presented as abstract art trivia. It’s explained in a way that connects to what people could observe and understand through the night sky.
If you’re the sort of traveler who likes history that feels useful, this stop delivers. It gives you a reason to look up, and it helps you connect the region to wider Polynesian and Aotearoa perspectives rather than keeping everything locked inside one city story.
Havelock North plus Te Mata Peak: 380 degrees when the weather cooperates
At Havelock North, you get the chance to choose between two different experiences depending on the day.
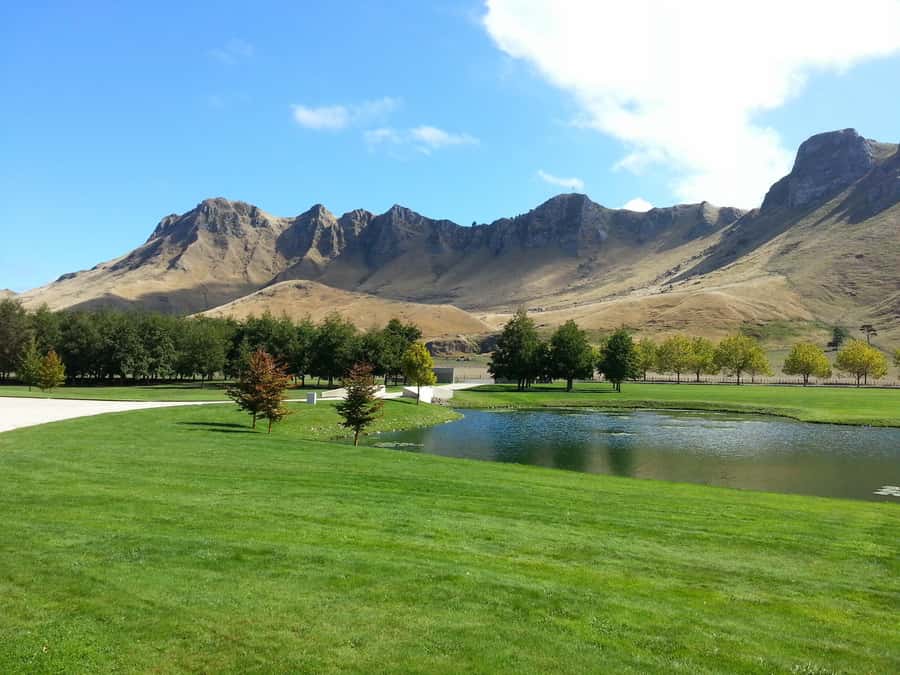
Option one is Te Mata Peak for a view that can stretch to a 380-degree panorama, weather permitting. If the skies are clear, this is the kind of viewpoint that resets your sense of scale. You can see why people build where they build, how towns connect, and how Hawke’s Bay’s patchwork of green shows up from above.
Option two is visiting Arataki Honey Visitor Centre, where you can taste a variety of honey, including Manuka honey.
I like that the tour offers a swap like this. If the weather doesn’t cooperate for peak views, you’re not stuck with nothing to do. And if you’d rather spend time tasting than climbing, you have an alternative that fits the region’s food identity.
One note to plan around: the peak experience depends on conditions. If you’re visiting on a day when clouds are common, the honey option can end up being the better choice.
Hastings in a short window: a quick orientation that pays off
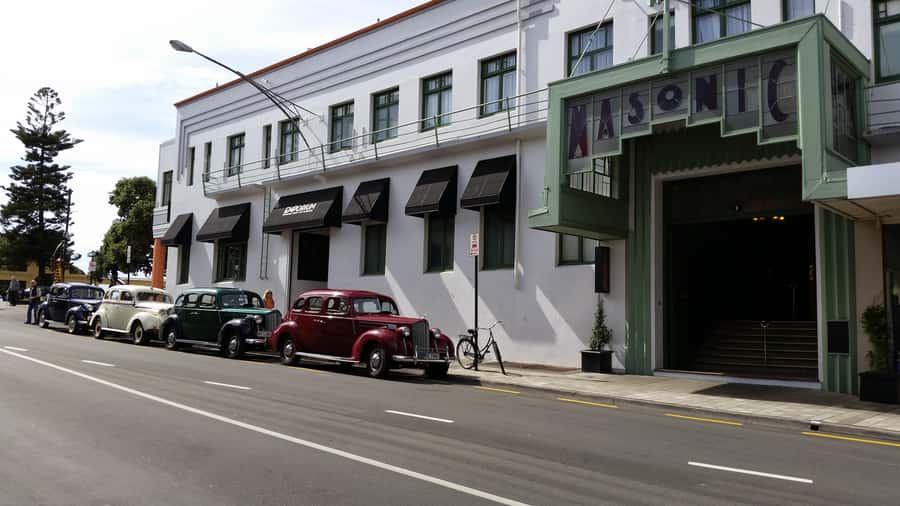
The tour continues to Hastings for a brief guided look. In a tight highlights format, you’re not trying to master the city. You’re getting the key orientation that helps you understand what you’ll see if you return later.
This stop is valuable because it prevents the experience from being only Napier and then driving away. You get a sense of how Napier’s story fits into the broader Hawke’s Bay region, including nearby urban life and how the towns relate.
If you’re planning your own follow-up later, this quick orientation helps you decide where to spend more time on day two.
Price and timing: does $89 for 90 minutes feel fair?
At $89 per person for a 90-minute small-group tour, the value comes from two things: the guided interpretation and the multiple-town route.
You’re getting pickup and drop-off, a live guide, and time-saving logistics that would be hard to reproduce on your own in a short window. In other words, you’re not paying just for driving, you’re paying for someone to connect the dots: earthquake rebuilding, Art Deco design, harbour life, Māori art and constellations, and Hawke’s Bay’s agricultural setting.
The timing is the tradeoff. This is not a slow, sit-on-a-bench kind of tour. It’s built for highlights. If you like quick context and efficient route planning, it makes sense. If you hate moving from place to place, you may prefer a longer tour with fewer stops.
Also, the route can vary slightly due to traffic, weather, or local events. That flexibility is usually a good thing, especially with a viewpoint stop that depends on conditions.
Who should book this tour, and who might skip it
This tour is a strong fit if you:
- want a first-pass introduction to Napier’s Art Deco story
- like seeing multiple parts of Hawke’s Bay without the hassle of planning transport
- enjoy guided explanation more than solo wandering
- want a small group so questions and photo moments feel easier
It might not be a great fit if you:
- need mobility support, since it is not suitable for people with mobility impairments or wheelchair users
- want very long time in one place, rather than a tight highlights loop
- dislike short stops and quick transitions
If you fall in the first category, you’ll likely get more out of it than you expect for a short duration.
Practical tips to get the most out of Napier, Ahuriri, and Te Mata Peak
Bring the basics and you’ll enjoy the day more:
- Comfortable shoes for walking around key areas
- Camera for Art Deco facades and landmark signage
- Sunscreen and water, especially in warmer months
- dress for sun and possible breeze near viewpoints
Also, smoking is not allowed, so plan accordingly if you’re a frequent smoker.
And here’s a simple strategy: if the Te Mata Peak plan is on the schedule, keep your expectations adaptable. Weather can change fast, and the honey alternative is a smart backup that keeps the experience meaningful.
Should you book Napier Highlights + Tour?
I think you should book this tour if you want a guided, efficient way to understand Napier beyond postcards. The combination of Art Deco architecture, the earthquake rebirth narrative, and iconic stops like the National Tobacco Building and Star Compass gives the route a coherent theme. Add Ahuriri’s harbour energy, a Celestial Compass stop with Māori art and constellations, and then a choice at Havelock North, and you end up with variety that still feels connected.
On the other hand, if you want long sightseeing blocks or you need accessibility support, this format may not match what you’re looking for.
If your goal is to make the most of a short time in Hawke’s Bay, this small-group tour is a practical, high-value option.
FAQ
How long is the Napier Highlights + Tour?
The tour duration is 90 minutes.
How much does the tour cost?
The price is $89 per person.
Where do I meet the guide for pickup?
You meet your guide at the information center, the i-site, at 100 Marine Parade.
What languages are offered on the tour?
The live tour guide speaks Spanish and English.
What’s included in the price?
The tour includes pickup and drop-off, plus a guided tour.
Is the tour suitable for wheelchair users or mobility impairments?
No. The tour is not suitable for people with mobility impairments and wheelchair users.
Just added near Napier
- Wine Tour and Tastings in Hawkes Bay★ 5.0 · 67 reviews
- Half Day Sightseeing and Taste Tour★ 5.0 · 35 reviews
- Small group – Napier Premium Winery , Beer & Cider + 5.5h to 6h.★ 5.0 · 43 reviews
- Taste Hawke’s Bay – A Sweet treat food Tour★ 5.0 · 3 reviews
- Scenic Te Mata Peak Tour by Supertrike★ 5.0 · 100 reviews
- Shore Excursion: 4 Hour Premium Hawke’s Bay, Napier Art deco Tour★ 4.0 · 37 reviews
- Napier and Hawkes Bay Scenic and Art Deco Tour by VW Kombi★ 5.0 · 21 reviews
- Napier Gourmet Winery Luncheon + tastings at 3 Great Wineries★ 5.0 · 81 reviews
Napier & Hawkes Bay Tours, compared.

Cape Kidnappers Gannet, Nature & Sightseeing Tour
Read our review →

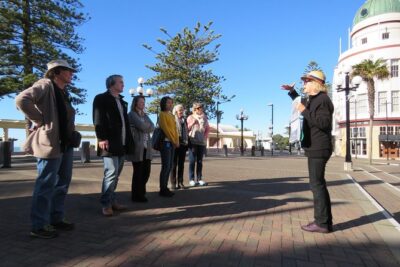
Guided 10am Morning Art Deco Walk From Napier Art Deco Trust
Read our review →
Afternoon Winery Tour Tasting at 3 Great Wineries
Read our review →
Afternoon Wine Tasting + visit Silky Oaks Chocolates
Read our review →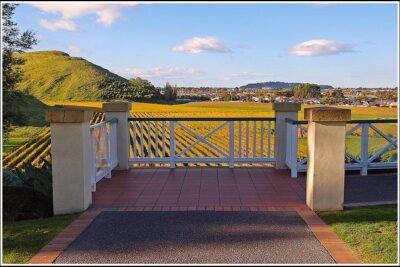
Premium 4 -Best Wineries Napier Hawke’s Bay Tour, 5.5h – 6Hours
Read our review →
Browse the lists this tour appears in