REVIEW · TOURS
Christchurch: to Franz Josef via Hokitika 1 Way Tour
A long day, and it pays off fast. This one-way small group tour strings together the South Island’s best West Coast stops with real guidance, not just a bus ride. I like the small group pace and the fully guided story behind each stop, especially at Devils Punchbowl. One catch: it is a 12-hour day with short walks, so if your back is sensitive, you’ll want to think twice.
You’ll travel west in a modern Mercedes Sprinter, with snacks and water on board and frequent chances to stretch your legs. The route takes you across the wide-open Canterbury Plains, then up into the Southern Alps through Arthur’s Pass National Park, before the scenery starts changing fast. If you’re craving big variety in a single day, this is built for you.
In This Review
- Key highlights and practical wins
- Christchurch to Franz Josef by way of Hokitika: what the day feels like
- Castle Hill Village: limestone you can’t help but stare at
- Arthur’s Pass Village: a classic mountain stop with room to browse
- Devils Punchbowl waterfall: the stop that makes the day feel worth it
- Otira Viaduct lookout: five minutes, big alpine energy
- Greymouth lunch break: included, timed, and actually useful
- Hokitika: the famous sign, plus a chance to slow down
- Hokitika Gorge: turquoise water and an easy walk with a swing bridge view
- Lake Ianthe and the final approach to Franz Josef
- The small group Mercedes Sprinter setup: comfort that matters on a long day
- Price value: what $173 buys you on a one-way, guided route
- Who this tour suits best, and who should think twice
- Should you book this Christchurch to Franz Josef via Hokitika one-way tour?
- FAQ
- What is the duration of the Christchurch to Franz Josef via Hokitika tour?
- How much does the tour cost?
- Is lunch included, and what kind of meal is it?
- Does the tour include snacks and drinks?
- Where is pickup offered?
- Where does the tour end?
- Is there luggage allowance?
- Is the tour wheelchair accessible?
- What about children and car seats?
Key highlights and practical wins
- Arthur’s Pass to West Coast switch: alpine passes early, then rainforest edges and coast later
- Devils Punchbowl waterfall: a real stop with time for a walk, not just a photo pause
- Hokitika Gorge: turquoise water plus an easy walk and scenic swing bridge vibes
- Otira Viaduct lookout: a quick viewpoint with big alpine drama
- Guided storytelling: Cheeky Kiwi Travel guidance that connects the geology and local history
- One-way finish in Franz Josef: you arrive ready to continue on without backtracking
Christchurch to Franz Josef by way of Hokitika: what the day feels like
This tour is essentially a “best of the West Coast” sampler, done in one long day. You start in Christchurch and head west, crossing the Canterbury Plains first, then climbing into mountain country through Arthur’s Pass National Park. The drive is a huge part of the value, because it’s where you get that changing-New-Zealand feeling: open farmland to steep passes, then into the wetter, wilder side of the island.
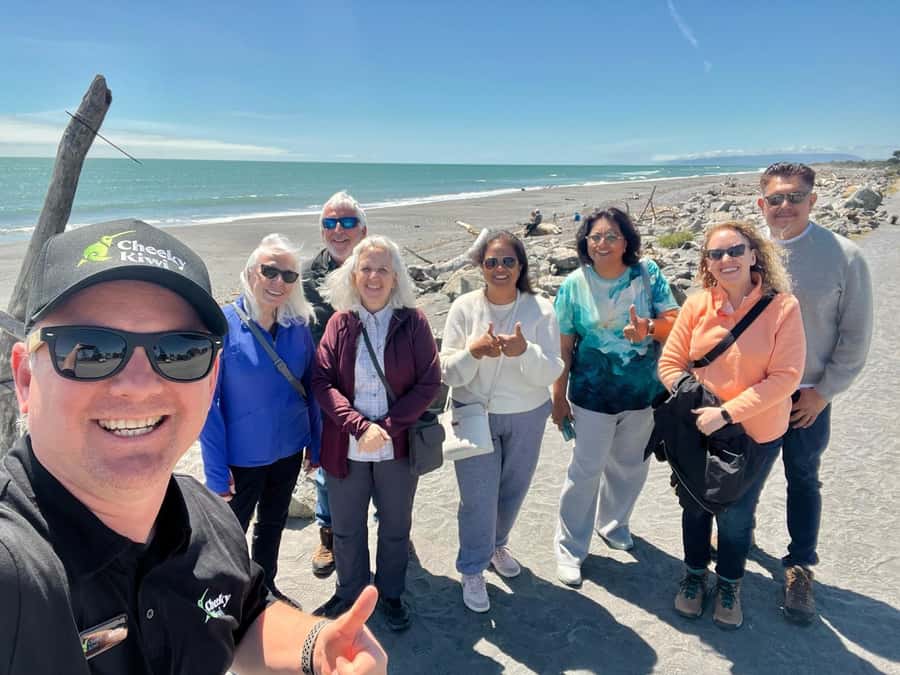
The best part is that the stops are spaced so you can actually enjoy them. You’re not sprinting from one bus window to another. Most breaks are photo stops plus short walks, with time to take your time, get your bearings, and soak in the views from the places the guide recommends. And because it’s a small group tour, the day feels manageable even when you’re on the road for hours.
If you need a low-stress plan for reaching Franz Josef without renting a car, I like this format a lot. You’ll also be fed: lunch is included in Greymouth, and snacks plus water keep you going between stops.
More around New Zealand while you are planning:
- Hobbiton Movie Set: Guided Tour Ticket
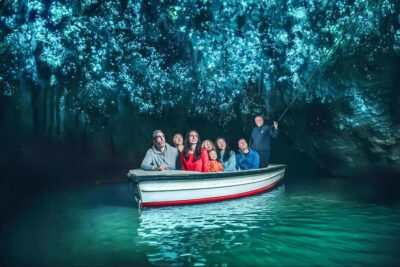
★ 4.9 · 8,167 reviews - Waitomo: Glowworm Caves Guided Tour by Boat
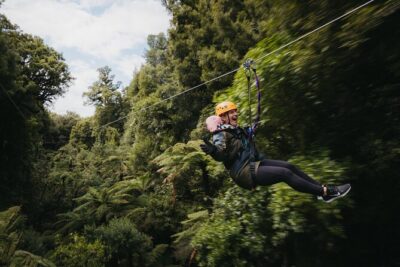
★ 4.5 · 4,908 reviews - Rotorua Canopy Tours: 2.5Hour Native Forest Zipline Adventure
★ 5.0 · 4,563 reviews
Castle Hill Village: limestone you can’t help but stare at
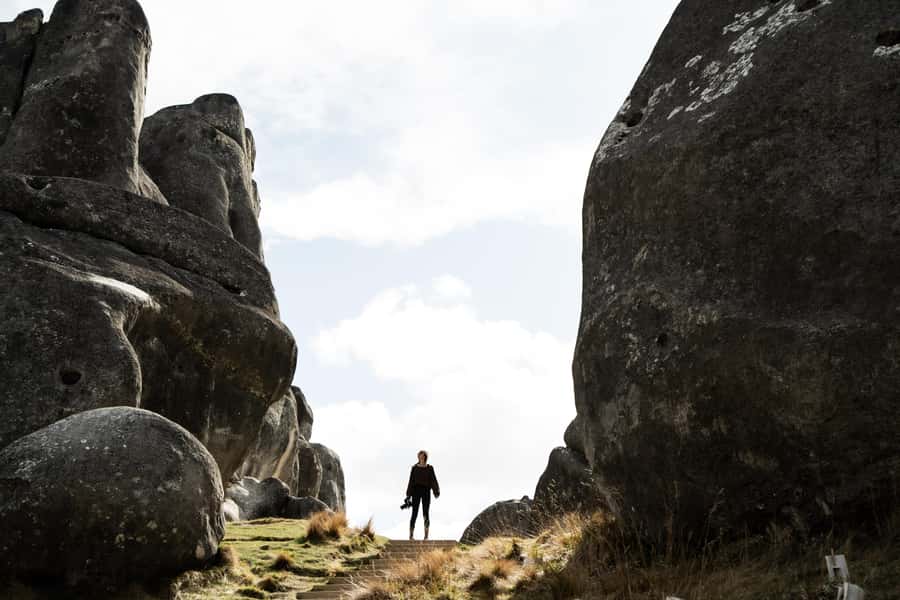
Your first real West Coast-style wow moment comes at Castle Hill Village. You’ll get a photo stop, some free time, and options to walk and look around at the limestone formations. This is one of those places where the scenery is so unusual you stop thinking in a straight line. The formations feel almost sculpted, but they’re the result of long geological processes, and the guide helps you understand what you’re looking at.
What I like for your planning purposes is that this is not just a quick “stand here, next” stop. You get about an hour total time in the area, which is just enough to wander a bit and still feel relaxed. You can do as much walking as you’re comfortable with and focus on photos if that’s your priority.
Practical tip: this stop involves walking around uneven ground. Wear shoes with grip, especially if the weather turns. Even in a day tour like this, you’ll appreciate being steady underfoot.
Arthur’s Pass Village: a classic mountain stop with room to browse
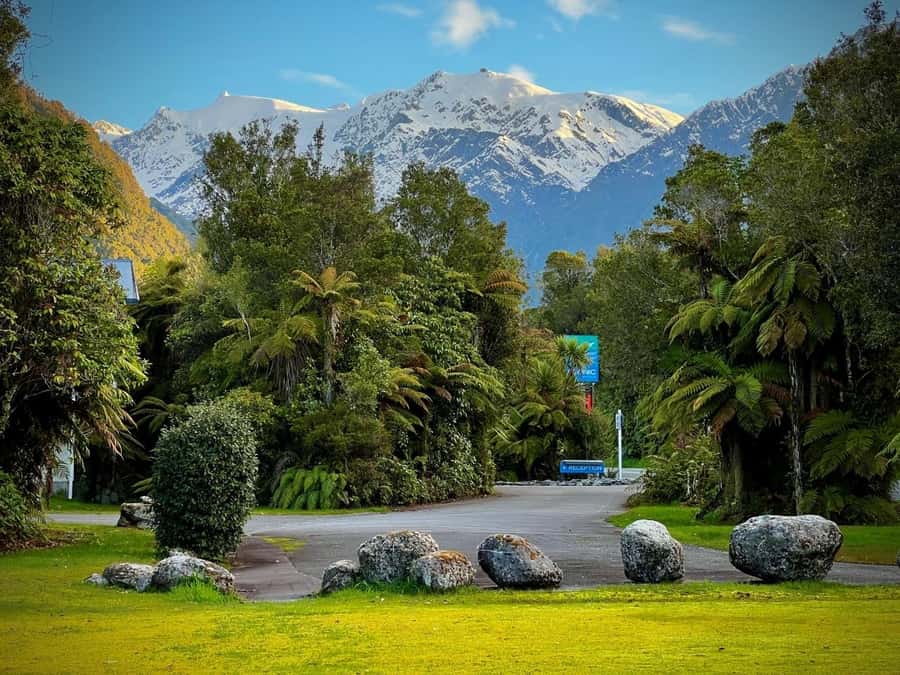
After Castle Hill, you’ll pass through Arthur’s Pass Village. Here, the tour gives you time for visiting and free time plus scenic viewpoints along the way. It’s a good reset point. The scenery shifts again as you move closer to the Southern Alps, and the village stop helps break up the drive so you don’t feel like you’re just passing through.
This is where the drive really starts to feel like a journey. You’re no longer just heading west, you’re climbing toward a different kind of New Zealand weather and terrain. The guide’s local insights also matter here, because Arthur’s Pass is known for its mountain route history and its role as a gateway between regions.
If you like small towns, this is also the stop that gives you a chance to buy a snack or browse shops without rushing. The schedule keeps it tight, but it’s not a token stop.
Devils Punchbowl waterfall: the stop that makes the day feel worth it
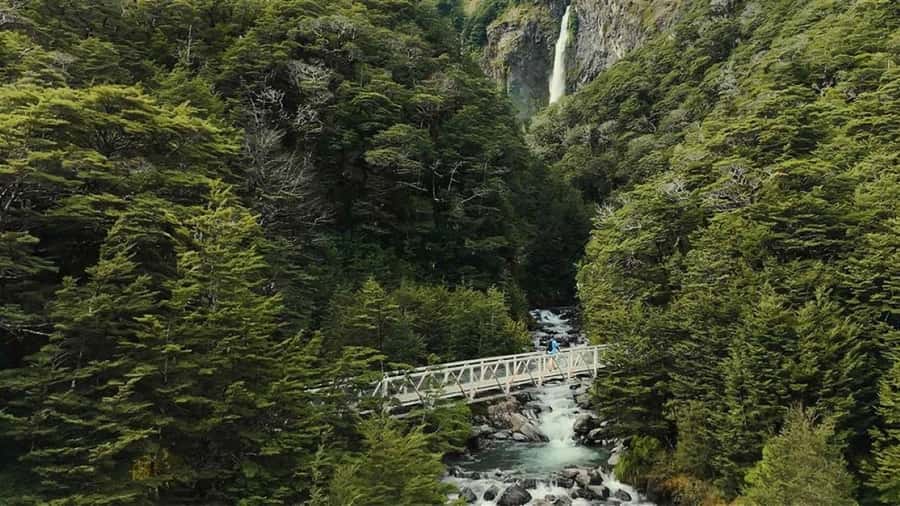
Devils Punchbowl is the “okay, wow” moment. You’ll arrive for a photo stop plus free time, sightseeing, and time for a walk. The waterfall is famous for a reason: at 131 meters, it looks powerful in photos, but it’s even more impressive when you’re there and can hear the sound in the surrounding forest.
This stop also fits the tour well because it balances effort and payoff. You’re not committing to a long hike, but you are getting out and moving. That matters on a 12-hour day tour. You want at least a couple of chances to feel the air change and stretch your legs beyond quick viewpoint stops.
Potential drawback: the walk is still a walk, and if rain makes paths slick, you’ll want good footwear. The good news is you can usually choose how much distance you cover, since the schedule allows time for sightseeing at your own pace.
Same island, a completely different day:
- Hobbiton™ Movie Set Walking Tour from Shires Rest
★ 5.0 · 3,577 reviews - Mitai Maori Village: Cultural Experience and Dinner Buffet
★ 4.7 · 3,575 reviews - Waiheke Island: Ferry & Hop-On Hop-Off Explorer Bus Tickets
★ 4.6 · 3,311 reviews - Kaikoura: Whale Watching Cruise
★ 4.6 · 3,089 reviews
Otira Viaduct lookout: five minutes, big alpine energy
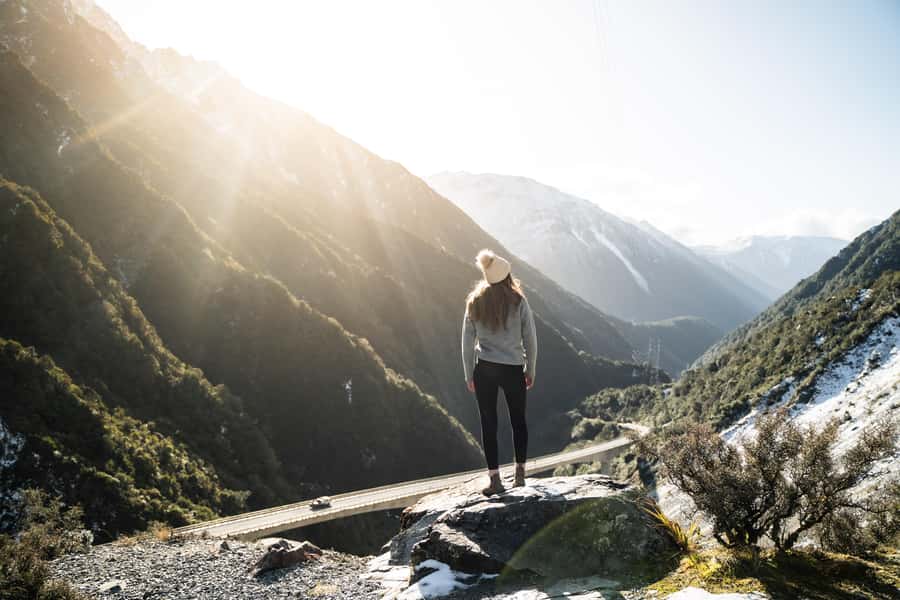
Otira Viaduct is short on time, but it’s not short on impact. You’ll stop for photos and take in the panoramic viewpoint of the viaduct and the alpine scenery around it. You’re only there for around five minutes, which is enough for a quick breath, camera angles, and a look at how the mountain route cuts through the terrain.
I like this kind of stop for a one-way tour. It keeps momentum while still giving you a signature viewpoint you can’t easily recreate on your own unless you’re driving the route anyway. If you’re the type who likes seeing engineering features in action, this is a nice payoff.
Practical note: because it’s quick, come ready to move. If you want a great photo, position yourself early so you’re not scrambling when the bus is calling it time.
Greymouth lunch break: included, timed, and actually useful
You’ll stop in Greymouth for lunch, with about an hour allocated. Lunch is included, and you’ll choose from a set menu. It’s a very practical setup for a day tour. After several stops with walking and photo time, having a proper sit-down meal keeps the rest of the day enjoyable instead of turning into a snack-only grind.
This is also one of the calmer pauses in the schedule, which means it’s a good moment to reset your legs and hydrate. Snacks and water are available throughout, but using the lunch break to eat well will make the next stops feel easier.
If you’re picky about timing, plan around the fact that it’s a set tour schedule. You’ll have time, but it’s still managed time, not a free-roam day.
Hokitika: the famous sign, plus a chance to slow down
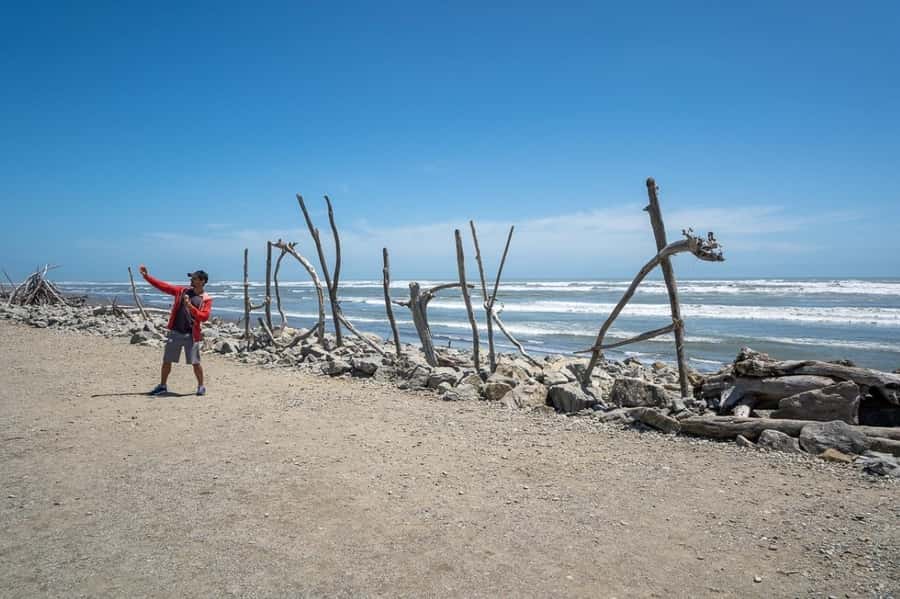
Once you’re deeper into West Coast territory, Hokitika becomes your next highlight. You’ll get a photo stop and then free time for sightseeing, shopping, and a walk. There’s also a look at the iconic Hokitika sign area, set with a coastal backdrop and a colorful arts vibe.
This is the stop where I’d recommend you actually use the free time. If you’re the type who only photographs and then gets back on the bus, you’ll miss the point. Hokitika is small enough that you can get your bearings quickly, and that little pause helps the day feel like more than just a checklist.
What to expect here: you’ll be outdoors near coastal viewpoints, so wind and weather can matter. Even when the day is mostly about driving and stopping, the West Coast can change its mood quickly.
Hokitika Gorge: turquoise water and an easy walk with a swing bridge view
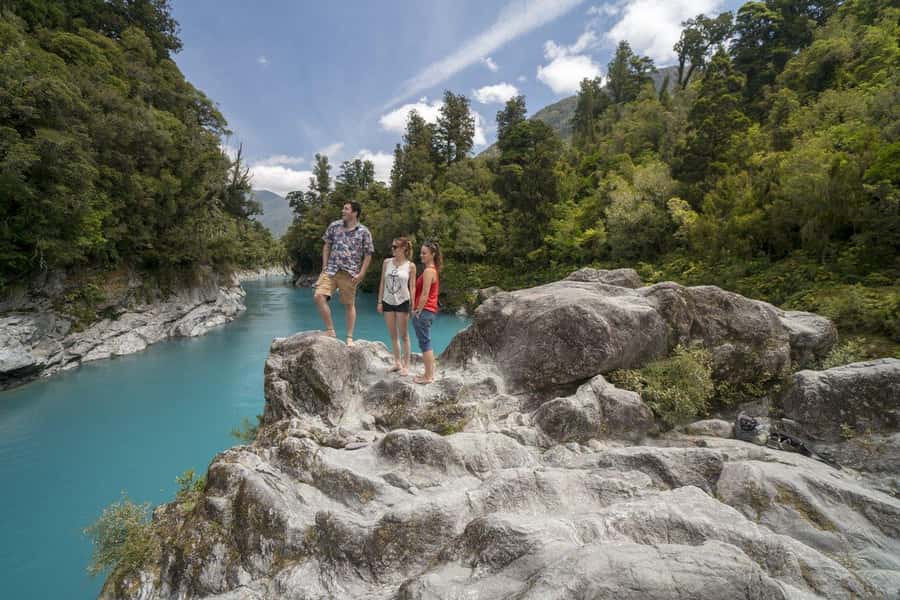
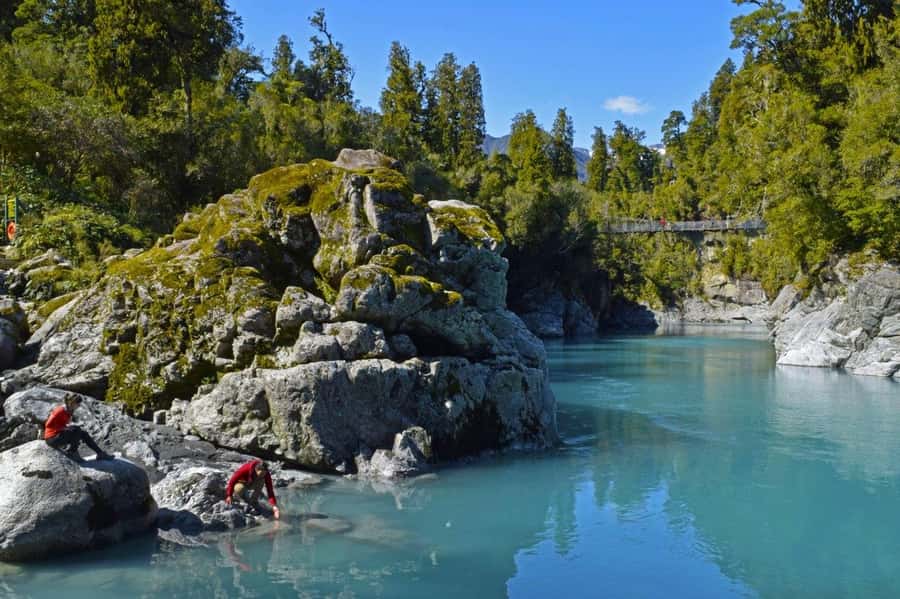
Hokitika Gorge is one of the most memorable stops because it’s visual from multiple angles. You’ll have sightseeing time plus a walk for about an hour. The gorge is known for turquoise water, lush forest scenery, and a scenic swing bridge that gives you a fun moment without requiring a major hiking plan.
I like this stop because it’s flexible for different travel styles. If you want photos, there are plenty of viewpoints. If you want to stretch your legs, the walks are set up to be manageable. And if you just want to breathe in the quieter feel of a gorge, you’ll find time for that too.
Potential consideration: like any gorge area, conditions can change with weather. Wear shoes you trust. The path is meant to be easy, but you’ll still be walking on outdoor surfaces.
Lake Ianthe and the final approach to Franz Josef
Before you finish, there’s a quick sightseeing stop at Lake Ianthe. It’s only around five minutes, so think of it as a quick scenic hit to keep the momentum going. It’s the kind of break that works well right before you arrive, because it doesn’t steal time from Franz Josef.
Then you reach the finish in Franz Josef. The important practical detail is that the tour finishes there, and hotel drop off in Fox Glacier is not available. The drop off is in central Franz Josef only. If you’re staying in the broader area and you’re thinking about Fox Glacier specifically, plan for that difference in advance.
The small group Mercedes Sprinter setup: comfort that matters on a long day
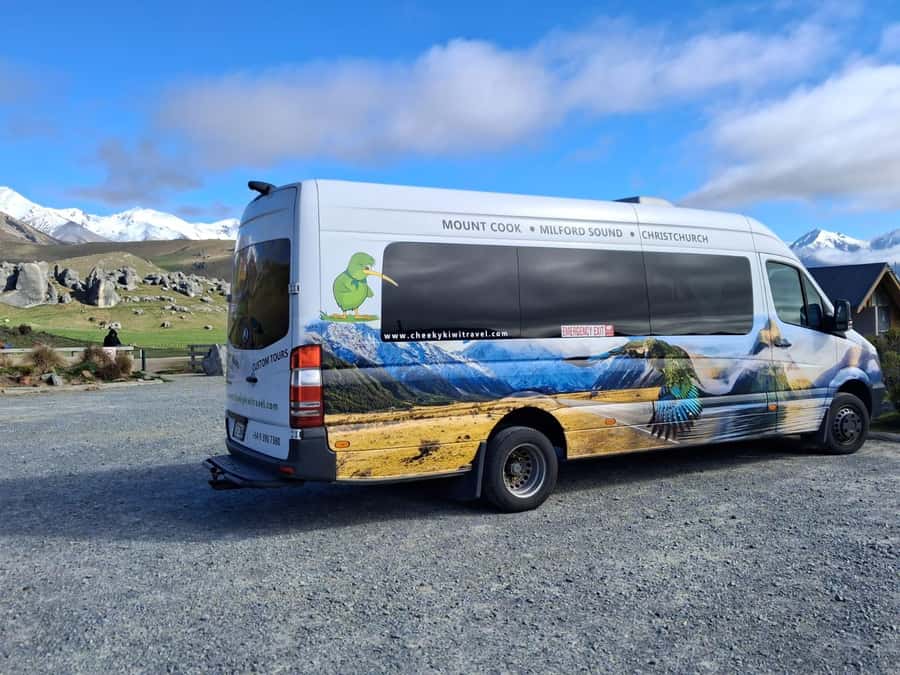
This is a small group tour run in a modern Mercedes Sprinter. That matters because 12 hours is a long time to be sitting. A smaller vehicle setup usually helps with the feel of the day, and it also tends to make it easier for the guide to manage stops, count heads, and keep the pace sensible.
Luggage is handled with a clear allowance: you can bring one large and one small item per person. That’s helpful because it reduces the uncertainty of where bags go when you’re repeatedly getting in and out.
Snacks and water are included, which is a big comfort factor on days like this. You can grab something between stops instead of waiting for lunch to save the day.
Price value: what $173 buys you on a one-way, guided route
At $173 per person for a 12-hour one-way trip, you’re paying for more than transport. You’re buying a guided route across several major stops that would otherwise take a lot of planning and driving on your own.
Here’s what your money covers, based on what’s included:
- fully guided touring across the day’s key sights
- lunch included with a set menu
- snacks provided and water available
- frequent scenic stops plus time for photo moments and short walks
- a clear luggage allowance and a small group vehicle
Could you drive the route yourself and pay less? Possibly, if you already have wheels and you’re fine doing your own navigation, timing, and stop decisions. But if you want the “drive plus commentary plus chosen viewpoints” combo, this is a strong value because it removes a chunk of decision fatigue.
One-way also matters. It’s a direct transfer to Franz Josef, not a round trip that wastes hours going back the way you came.
Who this tour suits best, and who should think twice
This tour fits best if you want West Coast highlights without juggling a rental car and you don’t mind a long day schedule. It’s also ideal if you appreciate guidance. The tour is led in English and is designed to give you local stories and context around geology and history, so the day feels more like understanding place than just collecting photos.
It may not be a great match if any of these apply:
- back problems, because there is walking on outdoor paths and a lot of time in a vehicle
- wheelchair users, because the tour is not suitable and wheelchair rules are strict
- anyone needing Fox Glacier hotel drop off, because the tour finishes in central Franz Josef only
Weather is part of the deal. The tour operates in all weather conditions, so dress accordingly. On the West Coast, that often means layers, a rain shell, and shoes ready for damp ground.
Should you book this Christchurch to Franz Josef via Hokitika one-way tour?
Book it if you want a guided day that hits the West Coast big hitters: Castle Hill, Devils Punchbowl, Otira Viaduct, Hokitika Sign, and Hokitika Gorge, all while traveling in a small group vehicle to Franz Josef. For many people, it’s the easiest way to see a lot without turning the trip into a logistics project.
Skip it if you’re hoping for a relaxed, slow-paced day, or if walking and long seating time would be uncomfortable. Also make sure the central Franz Josef finish works with your lodging plans.
If you’re aiming for value, convenience, and a day that feels fun and informative with a guide keeping you on track, this is a smart pick.
FAQ
What is the duration of the Christchurch to Franz Josef via Hokitika tour?
The tour duration is 12 hours.
How much does the tour cost?
The price listed is $173 per person.
Is lunch included, and what kind of meal is it?
Yes. Lunch is included and you choose from a set menu.
Does the tour include snacks and drinks?
Yes. Snacks are provided and water is available during the day.
Where is pickup offered?
Pickup is offered from listed locations in Christchurch. If your accommodation is not listed, you need to choose the nearest option and meet the tour there.
Where does the tour end?
The tour ends in Franz Josef (central Franz Josef). Hotel drop off in Fox Glacier is not available.
Is there luggage allowance?
Yes. You can bring 1 large and 1 small item per person.
Is the tour wheelchair accessible?
No. It is not suitable for wheelchair users. Non-folding wheelchairs and electric wheelchairs are not allowed.
What about children and car seats?
Children aged 7 years and below are required to travel in a child safety car seat. You can hire seats ($20NZD per seat) or provide your own.
Just added near New Zealand
- Willowbank Wildlife Reserve Day Entry Ticket★ 4.5 · 85 reviews
- WLG: Museum of NZ Māori Highlights Tour & General Admission★ 4.7 · 30 reviews
- Whitianga: 2-Hour Glass Bottom Boat Cathedral Cove Tour★ 4.8 · 126 reviews
- Christchurch: Helicopter Trial Flight★ 5.0 · 7 reviews
- From Blenheim/Picton: Marlborough Gourmet Wine Tasting Tour★ 4.8 · 35 reviews
- Whakarewarewa: Self-Guided Geothermal Trails★ 4.5 · 41 reviews
- Whakaari – White Island Cultural and Flight Experience★ 5.0 · 138 reviews
- West Auckland: Sunset with Thermal pool & Wine Tasting★ 5.0 · 3 reviews
Tours, compared.
Rotorua Canopy Tours: 2.5Hour Native Forest Zipline Adventure
Read our review →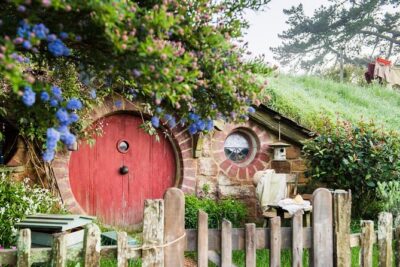
Hobbiton™ Movie Set Walking Tour from Shires Rest
Read our review →
Milford Sound Fly-Cruise-Fly Tour from Queenstown
Read our review →